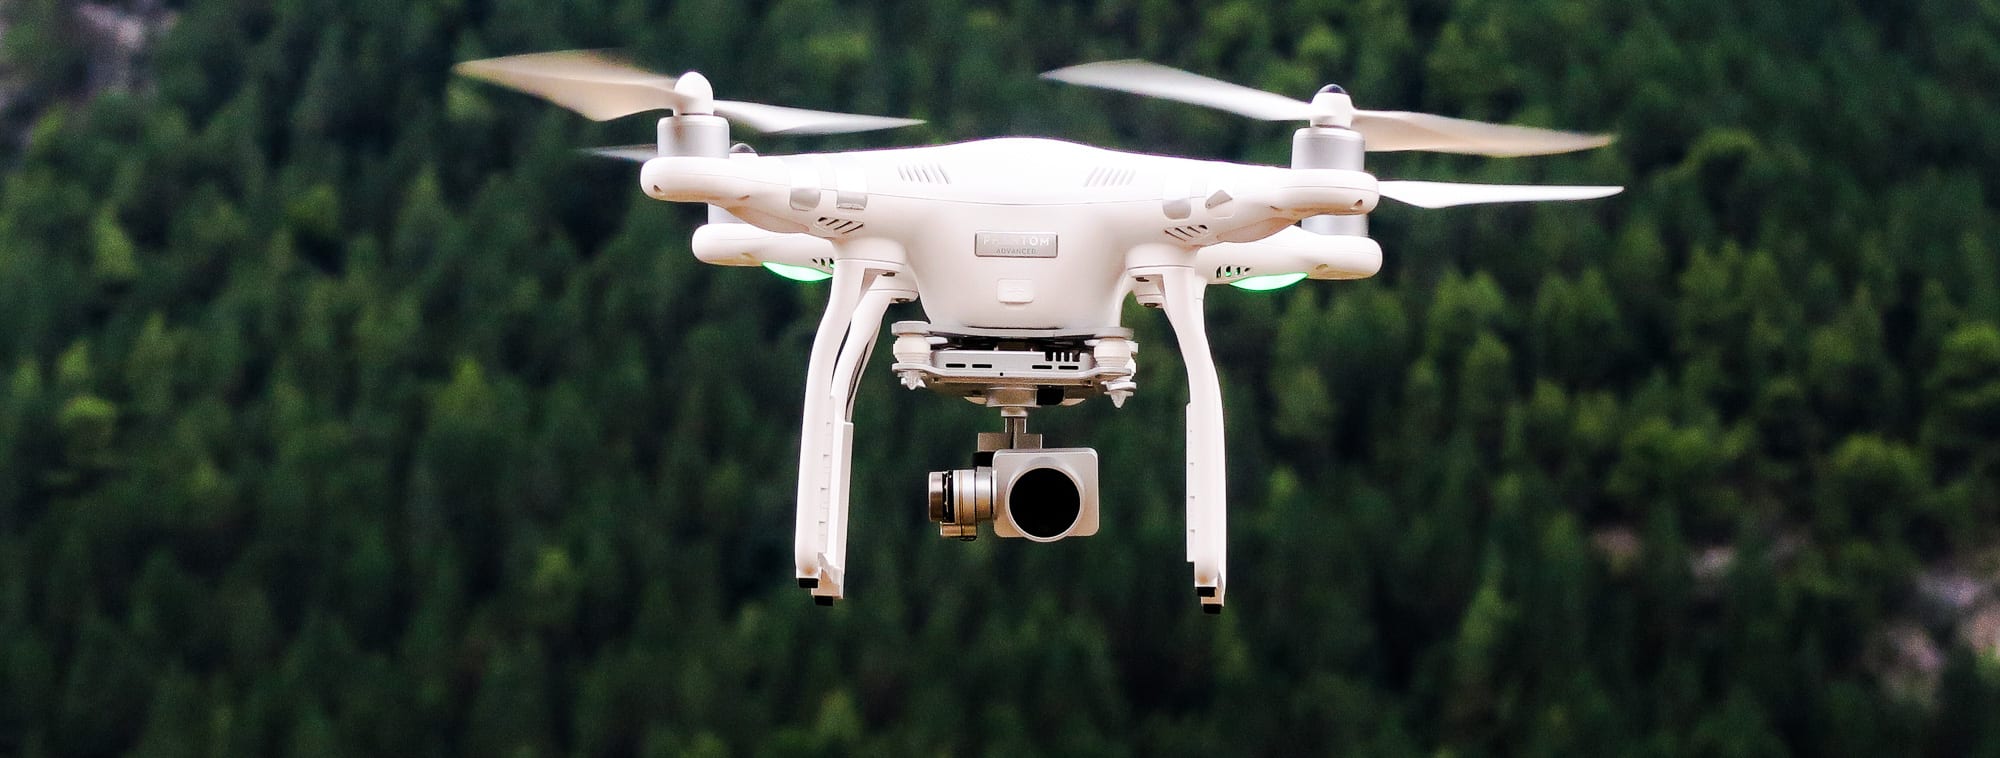
In this post we are going to show you our best tips to quickly improve your aerial drone photography.
In fact, we are go tell you what some tips and tricks we have learned after many years traveling the world with a drone.
You will learn:
- Fundamentals for drone photography
- Best drone for travel
- Basic photography tips
The best thing, is that there is nothing tricky or technical.
After you read this post, you should be able to improve your aerial drone photography immediately.
So let’s dive in!

This page may contain affiliate links. Click here to read our disclosure
Aerial photography (or airborne imagery) is the taking of photographs from an aircraft or other flying objects. Platforms for aerial photography include fixed-wing aircraft, helicopters, unmanned aerial vehicles (UAVs or “drones”), balloons, blimps and dirigibles, rockets, pigeons, kites, parachutes, stand-alone telescoping, and vehicle-mounted poles. Mounted cameras may be triggered remotely or automatically; hand-held photographs may be taken by a photographer.
Aerial Drone Photography Basics
As we mentioned at the beginning, drones are now the most popular flying object used to take aerial shots or even to record video.
This is simply due to the cost. Is cheaper to put a drone up there, than a helicopter or a parachute, right? Not to mention flexibility.
With the drone market arising, aerial drone photography is also moving fast. Some of them even shot RAW, which is the best option if you plan on editing later. They also record video at 4k, which is pretty impressive. Not to mention the variety of modes they are including to make your pictures even better effortless.
So either if you want something basic for photography or something more advanced for photo and video, rest assured you will be able to find it.
Drone Aerial Photography Rules and Regulations
One of the key things for drone aerial photography is to be familiar with the laws and regulations. They have changed a lot since we started flying, and the rules that matter most are no longer about the drone: they are about you being registered before you take off.
Wherever you are, these hold almost everywhere:
- Keep the drone in line of sight — you should always be able to see it without binoculars or a screen.
- Maximum height 120 metres (400 feet) above the surface.
- Never fly over assemblies of people.
- Respect other people’s privacy.
- No flying near airports or any other no-fly zone. Check the geo-zone map for the country you are in.
On top of that, the three frameworks most travellers run into work like this:
European Union (EASA)
Most holiday flying sits in the open category, split into A1, A2 and A3 depending on how close to people you fly. Two things catch people out:
- Registering as an operator is not only about the 250 g line. Under Regulation (EU) 2019/947 you must register if the drone weighs 250 g or more or if it carries a sensor able to capture personal data — which means a camera. Practically every camera drone, however light, needs a registered operator number.
- The transition period for older drones ended on 1 January 2024. A drone without a C0–C4 class label can now only be flown in A1 if it is under 250 g, or otherwise in A3 — at least 150 metres from residential, commercial, industrial and recreational areas. The old “under 2 kg, 50 metres from people” allowance is gone. If you are still flying a Mavic 2 or similar, this is the rule that changed under you.
Direct Remote ID is required by class: drones labelled C1, C2 and C3 broadcast it, C0 does not. Check your drone’s label rather than assuming.
United Kingdom
The UK left the EU system and the thresholds are lower. Per the CAA, you need a Flyer ID to fly anything from 100 g up, and an Operator ID if the drone is 250 g or more, or 100 g or more with a camera. The subcategories are named Over People, Near People and Far from People rather than A1/A2/A3.
Since 1 January 2026 the UK has its own UK0–UK6 class marks, and new models sold there must carry one. European C-class drones can still be flown as the equivalent UK class until 31 December 2027.
United States
The FAA works purely on weight, with no camera exception: registration is required for anything over 250 g flown recreationally. But every recreational flyer, whatever the drone weighs, must pass the free TRUST test before flying. And since 16 September 2023, if your drone needs a registration number it must also broadcast Remote ID.
One more thing the FAA is explicit about and older guides get backwards: whether you were paid is not what makes a flight recreational. When in doubt, assume the stricter commercial rules apply.
None of this replaces checking locally. National rules, national parks, heritage sites and city by-laws all add their own restrictions, and country-by-country summaries are a starting point, not the final word. It is good practice to check the law before attempting to fly.
The best drone for aerial photography due to its compact size, video and photo quality, and features is the DJI Mini 4 Pro.
Which drone should I buy?
It is not hard to find the drone that better suits you according to your needs. But in order to do that, you first need to think about what are your needs?
Do you want a small one just to learn on? Or something powerful, yet portable, for your trips?
Those kinds of things are what you need to think about before taking any decision. The good thing is that you don’t need to spend a fortune to have a good drone these days — and the sub-250 g class in particular has gone from toy to genuinely capable.
Here are three options according to size and ambition. The drones we originally recommended here — the DJI Spark and the Mavic 2 — are long discontinued, so this list has been rebuilt.
Best drone to learn on
Potensic ATOM SE: under 249 g, GPS-stabilised, a 12 MP Sony sensor and 4K video at 30 fps. It is the cheapest way we know to learn on something that holds position instead of drifting into a tree, and being under the 250 g line keeps the paperwork to a minimum in most countries — though remember that in the EU a camera still means registering as an operator, and in the UK the threshold is 100 g.
Best drone for travelling
DJI Mini 4 Pro: this is the direct descendant of the little Spark we used to recommend, and it is not a close contest. Under 249 g, a 1/1.3-inch 48 MP sensor, 4K video up to 100 fps and obstacle sensing in every direction. It folds into a jacket pocket, which is the whole argument for this class — the best drone on a trip is the one you did not leave in the hotel because it was heavy.
Best drone for serious photography
DJI Air 3S: the step up from the Mini, and the closest thing in DJI’s current line-up to the Mavic 2 Pro that shot most of the images in this guide. Two cameras rather than one — a 1-inch 50 MP wide and a 1/1.3-inch 48 MP medium telephoto — and 4K video up to 120 fps.
The second camera is the reason to want it. Having a real telephoto on the aircraft means you can change the framing without flying closer, and “closer” is often a cliff, a building, or a group of people you are not allowed to overfly.
The trade-off is weight and paperwork. At 724 g it is nowhere near the 250 g class, so you are registering as an operator and flying under the rules for a heavier drone wherever you go. If you mostly fly on holiday, the Mini is the more sensible buy; the Air earns its place when the photograph is the reason for the trip.
If you are buying in the United States, read this first. In December 2025 the FCC added drones produced outside the US to its Covered List (public notice DA 25-1086), which blocks new equipment authorisations. It is defined by where a drone is made rather than by brand, so it affects DJI, Potensic and most of the market alike. It does not make flying what you already own illegal, but it does mean the newest models are not sold through official US channels — in practice, US buyers are choosing between older authorised stock and whatever a reseller has, without the manufacturer’s warranty.
Free
Free PDF: The A-Z of World Budget Destinations
32 pages. Download it now, free.
Instant download. No spam.
Fundamental Tips for Aerial Drone Photography
1. Always check the law of the country where you are flying your drone
This is with no doubt the most important of all. The first thing we do before going somewhere to fly our drone is checking the law.
I did not do it for my first trip and was a mistake. When I first got the drone, I got already a trip planned to Austria with some friends and I was so happy I would be able to use it in the alps, how cool!. I then took it with me to Austria. Once there, I saw an officer to whom I asked before if I could fly the drone somewhere in the Alps. The answer was a solid No. I needed to have an Austrian pilot license (which of course I did not have) otherwise it was simply forbidden.
That taught me a precious lesson. I was completely new into that world and by that time, there were not many laws worldwide. Needless to say, the drone sat for the 5 days in my bag without seen the daylight.
Some of the useful pages where you can see the laws and don’t do like I did are these ones:
- UAV Coach — country-by-country summaries, a good first stop.
- Know Before You Fly — US-focused, plain English.
- EASA for the EU, the CAA for the UK and the FAA for the US — the authorities themselves, which is where you should end up before you fly.
2. Familiarised with your drone before taking off.
We have seen many people trying their drone for the very first time in a foreign place or with people around. This is far from the most convenient way to learn.
Read the manual at home and familiarize with the controls first.
If you don’t have a yard to do some controlled flights, just go to the closest park where you can fly it. Make sure there is no one nearby that might interfere with the flight or just in case things go out of control.
It is really important to spend some time understanding the controls. How to bring it back if you lose sight, how to move the gimbal smoothly, zoom, and of course, the camera settings.
Even if you are planning on shooting in auto, check how everything is set up first.
3. Avoid flying nearby people.
This is our religion. We always try to find a spot far from people, and if possible, out of sight.
By doing this you avoid mainly 2 issues: Disturb or damage people (if something goes wrong), and be reported to local authorities for any infraction you may have committed (or not) during the flight. You will be surprised, but it is not hard simply to be reported because someone finds the noise annoying and of course, if you got too close to somebody (remember about checking laws)
Also, we normally tend to move away from the area as soon as we finish flying. Not that we are doing anything wrong, but we got a bit paranoid and just in case to avoid any surprise.
There are so many places in the world, where you need to apply for permission in order to be able to fly your drone.
From our own experience, most of the time they will never come back to you. That does not mean that because you tried you can fly it. Instead, if you can find a nearby police officer, just pop up and ask for permission to avoid bad surprises.
Most of the time they will be able to tell you if flying is allowed or areas where you can go to flight.
Check always what the law says before. Otherwise, you might be telling the police you got a drone in a country where is banned to have one!
5. Download some good apps.
Apps will make your aerial drone photography much easier. There are some apps that tell you the fly zones, as well as weather forecast and conditions. The one we open every time is UAV Forecast (screenshot below), which gives you wind, gusts, satellite count and the Kp index in one screen.
For airspace in the US, note that B4UFLY is no longer a single FAA app. Since February 2024 the FAA approves several companies to provide the B4UFLY service, and the current list of approved apps is on the FAA’s own page. AirMap, which we used to recommend here, no longer operates as a consumer app.
The fly zones are extremely useful. It will tell you with different colors and circles in which areas are allowed to fly and where no.
Take a look at some of the apps, and you will soon be familiarized with the information that is useful. They will soon become an important part of your flying routine.

6. Use Google maps to plan your shots.
This is a really simple, yet powerful tip.
When we want to fly the drone somewhere, we check google maps before. You will be surprised the cool things you can easily find you did not know about.
Aerial drone photography is different from the traditional. You are looking at things from a different scale, angle, height, and perspective. The possibilities are endless. And that’s why natural patterns are so beautiful and some only unique for drones.
So do a bit of google map research before. It is likely that a beautiful natural formation which might be impressive for a drone view but not for a normal tourist, is in the list of things to see listed on google.
7. Light is very important.
A drone is not exempt from the golden rule for any good video and photo; lighting.
An overexpose video at 13 pm, will hardly look as good as one during the soft hours of light. This is a key thing you always need to consider.
Consider using ND filters, which we do, and make quite a difference in hours of the day when the sun is hitting hard.
Play also with different angles. For example, if the light is really hard, maybe you can take advantage to take a complete upside down picture or video. That way you will use the light in your advantage. Or take some good shadows shots.
In any case, if you want to have nice colors in your footage, make the most of the golden hour. This picture below was taken a few minutes after the sunset

8. Shoot in manual mode.
Although the automatic mode for most of the drone is ok, sometimes you need a tweak to get the real colors. Sometimes, to get clouds details and the real colors in the sky, you will need to optimize the settings for a specific scenario.
Do not leave the automatic mode ruin you a beautiful sunset only because it was not configured properly
I am sure there have been many times during a sunset where you could not get the shot you wanted and got frustrated. Instead, remember tip #2 familiarise with your drone?! This is what that was about!
You need to be able to find the settings you want within a few seconds: white balance, change iso, shutter…You need to take control of your aerial drone photography and not the other way.
9. Use intelligent flight modes.
Some drones, like the DJI’s, have intelligent flight modes.
What is an intelligent flight mode?
Are modes which help pilots control their aircraft, capture amazing video and images and help keep pilots and their aircraft safe. Which means, automatic fly pretty much.
Here are some of the modes examples we use and how we use them:
- If what I want is smooth footage passing by a specific zone, I’d use cinematic mode, where the gimbal movement is smoother.
- If I want to focus on a landmark or take epic footage of somebody, I would go for the tripod mode, giving me a lot of extra control.
- If what I want to do is an hyperlapse (moving time-lapse), I would go for the tap fly so I just need to press the shutter (or set it every 2 seconds)
As you can see there are many possibilities. I used to rely upon my pilot skills for some shots that the automatic modes couldn’t give me. Especially the ones moving from up to down or opposite.
These days, I am much more focused on having the right settings in my camera and I let the intelligent fly modes to make most of the flying part. That way I can focus on controlling only the gimbal, and having the right values for the perfect footage.
10. If you have the option, always shoot in 4K.
Why? Two reasons: It looks amazing, and you can get decent photography out of a 4K video.
Take a look at this video we did about some of the islands we visited in Southeast Asia and see yourself!
How To Make a Travel Video in 10 Actionable Steps (With No Experience)
- Always check the law of the country where you are flying your drone
- Familiarize with your drone before taking off
- Avoid flying nearby people.
- When in doubt, ask for permission to local authorities.
- Download some good apps.
- Use Google maps to plan your shots.
- Light is very important, use it properly.
- Shoot in manual mode.
- Use intelligent flight modes.
- If possible, always shoot in 4K.
Conclusion
With these tips, you should be able to take your aerial drone photography one step further.
We have been trying new techniques over the years, and the ones in this post are the ones that worked the best.
Lastly, if you want to take advantage of your drone footage, you should check how to make a travel video in 10 actionable steps. That way you will be able to convert your drone footage into an amazing piece of art!
If you guys want to see how these tips look like when applied, you can check our travel videos.
Let us know in the comments below if you have another tip that is worth mentioning.
Did you Like the Article?
PIN IT!


